Create an Appointment for a New Patient
This procedure is for patients who are not already in your database.
Before you begin
Permissions:
- View Appointments
- View All Appointment Books
- Create Appointments
- Edit Appointments
- Delete Appointments
- Create Visits and Arrive Appointments
In the following example, the appointment book displays a single schedule for a single healthcare practitioner. If you have configured your appointment book to show multiple schedules simultaneously, see Viewing Multiple Schedules Simultaneously.
Procedure
To create an appointment:
-
From the main menu, select
 Appointments.
-
After you have opened the
 Appointments book, if there are no schedules
visible, click
Appointments book, if there are no schedules
visible, click  Manage to add one or more
appointment schedules.
For more information about configuring schedule views, see View Appointment Schedules.
Manage to add one or more
appointment schedules.
For more information about configuring schedule views, see View Appointment Schedules.
-
In the
Appointments section, select
 Appointment > Appointment.
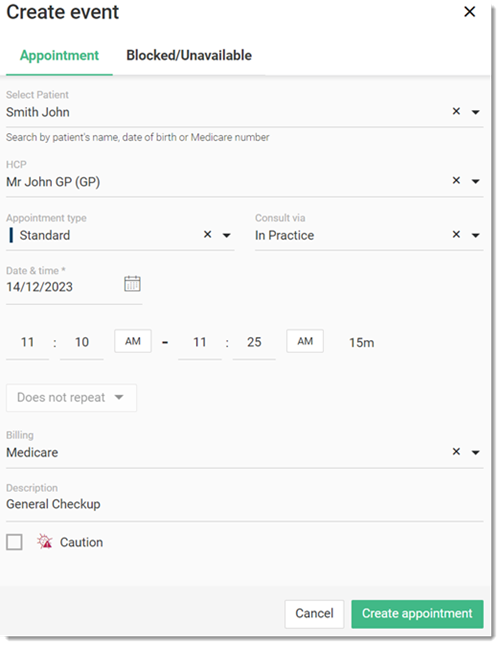
Tip:Alternatively, locate and double-click a time slot in the calendar to record the appointment. -
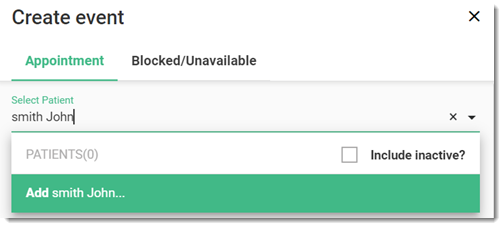
In the Select Patient field, enter the patient's name, and
then select Add
patient name from the list.
-
From the Appointment
type list, select an appointment type.

You can create or customise the appointment types and configure (activate) them separately for each practitioner in the Appointment book settings. For more information, see Managing Appointment Types and Configuring a Provider's Appointment Settings. -
To notify the administration staff and
practitioners about COVID-19 precautions, set
 Caution.
Results
- To edit the patient's
demographic details, click
 Edit.
Edit. 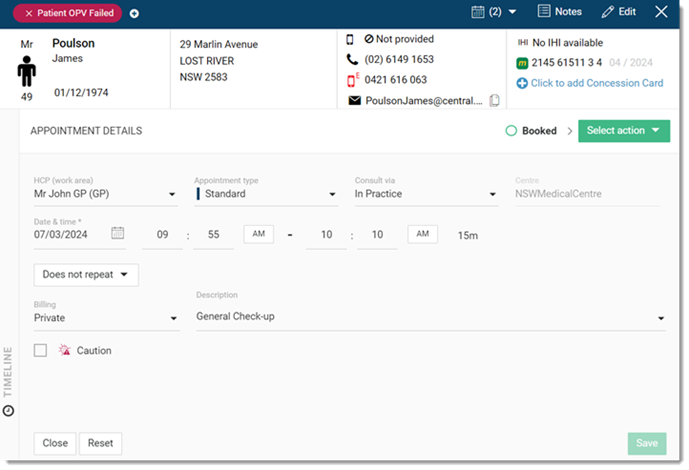
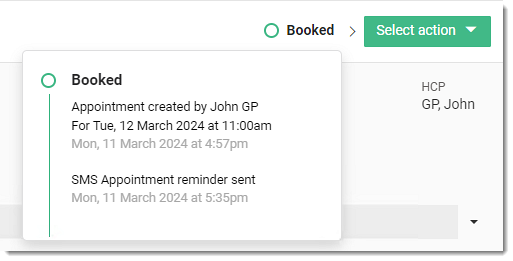
An SMS appointment reminder
is automatically sent to the patient 24 or 48 hours before
their appointment only if SMS for appointment reminder is
enabled. For more information, see Enable SMS Appointment Updates.
Note:
SMS charges
apply for each SMS.
What to do next
To view the status of an SMS reminder,
select ![]() . For more information, see Comms Log.
. For more information, see Comms Log.
In the Appointment details panel:
- If required, update the appointment visit details, such as billing, appointment type, COVID-19 and so on.
- If the patient needs a referral for this appointment, complete the referral and its associated fields. For more information, see Receive Incoming Referrals.
- To confirm changes, click Save.
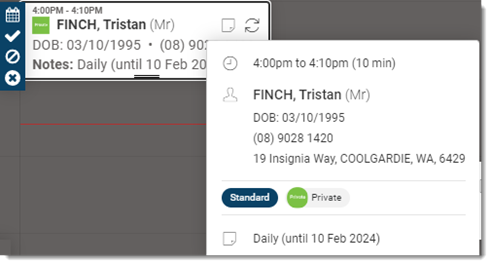
The appointment is saved in the Appointments panel.
The appointment displays the
appointment time, the patient's basic details and contact
details, and the concession type.
Update appointments from the Appointments book:
- To edit an
appointment's details, click
 Edit.
Edit. - To sign a patient in for
an appointment, when they arrive, click
 Arrive.Tip:The patient is automatically added to the Patient Queue, where you can then start a patient consultation. For more information, see Start Consult from Patient Queue.
 - If a patient does not arrive for an
appointment, click
 Did not attend.
 - To
delete an appointment, click
 Delete.