Managing Appointment Types
Helix provides a number of different appointment types, and you can create your own. The default supplied appointment type is called a standard appointment.
Before you begin
Permissions:
- Update Appointment Settings
About this task
By managing different appointment types, you can:
- Specify the appointment types each practitioner is available for.
- Select the default appointment type for each practitioner. For example, for practitioner, their default appointment type is the 'Standard' appointment, but another's is the 'Health Assessment' (or any other type available). One appointment type must be selected as the default for each practitioner.
- Specify different durations for each appointment type for each practitioner. For example, the duration of the 'standard' appointment could be 15 minutes for one practitioner but 20 minutes for another.
- Indicate the type of appointment the patient is scheduling an appointment for.
Procedure
To create a new appointment type:
- To create a new appointment type, click + Appointment Type. The
New appointment type panel appears.
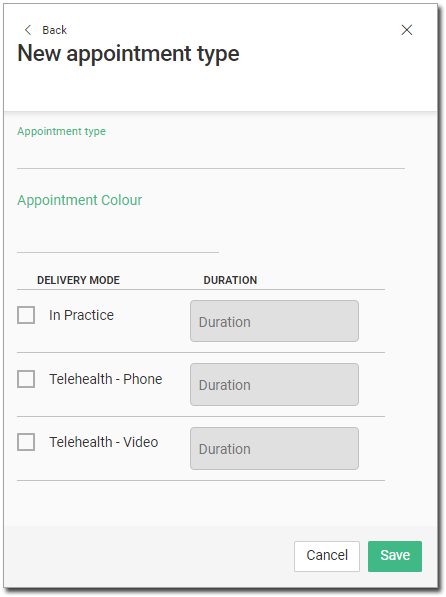
- Assign a colour to the new appointment type if required. Click in the Appointment
Colour section and select a colour.
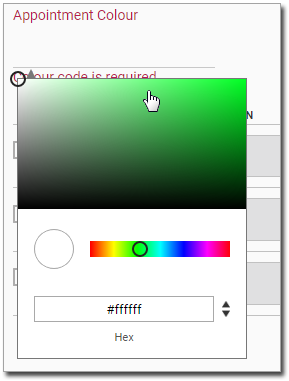
Tip:You can switch between Hex colours and an RGB palette if you know the specific colour you want to use. - Indicate the type of Delivery Mode for this appointment type, and the duration (in
minutes).

What to do next
To edit existing appointment types, click  Edit.
Edit.