Create an Appointment for a Provisional Patient
If you don't have enough information about a patient to record all the minimum demographic information, but they still need to be attended to, create a provisional patient.
Before you begin
- View Appointments
- View All Appointment Books
- Create Appointments
- Edit Appointments
- Delete Appointments
- Create Visits and Arrive Appointments
About this task
Typically a provisional patient is one who is unconscious or incapacitated, and unknown to the healthcare facility. There may be times where you need to create an appointment for such a patient, and Helix provides for this.
While you can create appointments for provisional patients, you can't record their visit until you capture more information about them.
Procedure
-
From the main menu, select
 Appointments.
-
After you have opened the
 Appointments book, if there are no schedules
visible, click
Appointments book, if there are no schedules
visible, click  Manage to add one or more
appointment schedules.
For more information about configuring schedule views, see View Appointment Schedules.
Manage to add one or more
appointment schedules.
For more information about configuring schedule views, see View Appointment Schedules.
-
In the
Appointments section, select
 Appointment > Appointment.
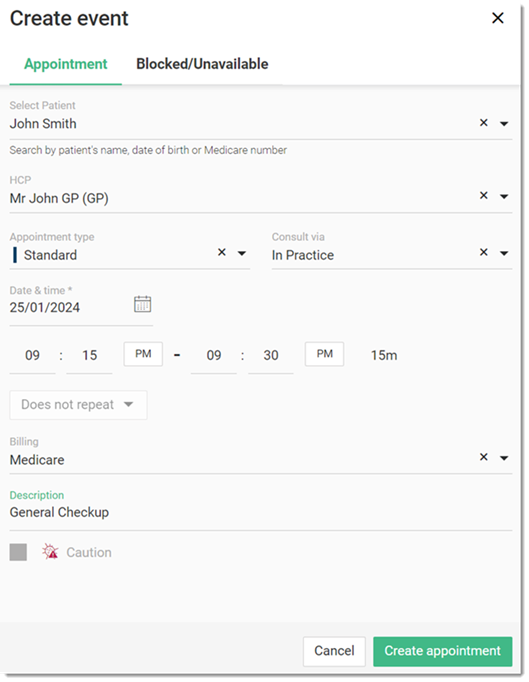
Tip:Alternatively, locate and double-click a time slot in the calendar to record the appointment. -
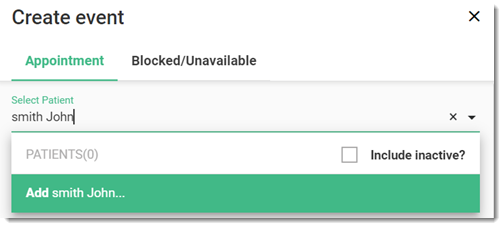
In the Select Patient field, enter the patient's name, and
then select Add
patient name from the list.
-
You are redirected to the Patient details panel:
- Record at least the mandatory patient details such as Sex at birth, Surname, First Name, Date of birth, and one Contact number.
-
However, if you are unable to record the mandatory patient details, click
 Close.
 - You will be prompted that the record is incomplete, but you can ignore this warning, because a provisional patient record will be created for you.
-
From the Appointment
type list, select an appointment type.

You can create or customise the appointment types and configure (activate) them separately for each practitioner in the Appointment book settings. For more information, see Managing Appointment Types and Configuring a Provider's Appointment Settings.
Results
What to do next
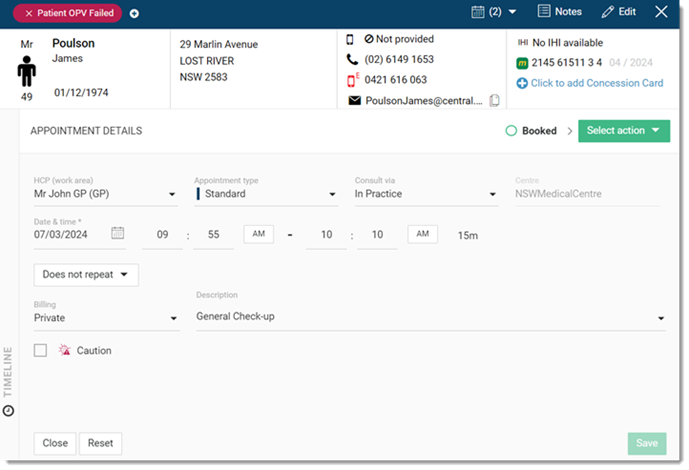
- If required, update the appointment visit details, such as billing, appointment type, COVID-19 and so on.
-
To confirm changes, click Save.
The appointment is saved in the Appointments panel. It indicates that Reserved for provisional patient in theAppointments book.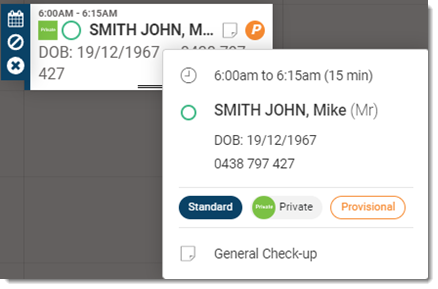
To edit an appointment's details, click
 Edit.
Edit.If a patient does not arrive for an appointment, click
 Did not attend.
To delete an appointment, click
 Delete.
 - When the provisional patient arrives for their appointment, they must be validated
before a visit can be created:
- Locate and double-click their appointment.
- In the Patient Details window, click Validate Provisional Patient.
- The required fields are flagged. Complete the patient information, after which you can record a visit for this patient. For more information, see Create a Visit.