Enable SMS Appointment Updates
Enable sending SMS messages from the appointment book.
Before you begin
Permissions:
- Update Centre Settings
- Set up and send patient SMS
About this task
Procedure
-
Select
 user >
  Settings.
-
To create a new template for the centre, click Add
template.
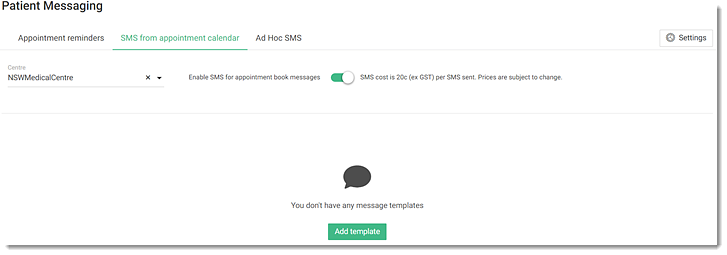
Results
SMS messaging for appointments is activated for the selected centre.
What to do next
If required, to create an additional template
for the centre, click ![]() Template and repeat the steps.
Template and repeat the steps.
To delete an existing template, hover your
mouse over a required template, click ![]() Delete.
Delete.
To send an SMS message from the appointment book, click ![]() SMS patients. For more information, see Send SMS appointment updates.
SMS patients. For more information, see Send SMS appointment updates.
If required, to edit a sender name, select ![]() Settings > Patient messaging settings > Sender name.
Settings > Patient messaging settings > Sender name.