Scan Documents
You can add scanned documents to a patient's record and timeline.
Before you begin
Permissions:
- View Scanned Documents
- Update Documents
- Delete Documents
Before you can scan documents into Helix, ensure you have installed the Helix Agent. For more information, see Helix Agent.
Procedure
To scan a document:
-
From the main menu, select
 Message Centre > DMS.
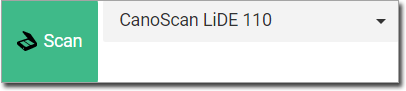
- From the scan list, select the scanner you want to use for scanning documents.
-
In the header, select the type of scan you want to perform:
 Single - scans one or more pages into a single document.
If your scanner can scan multiple pages, for example, via a sheet feeder, you
can combine multiple pages into a single document.
Single - scans one or more pages into a single document.
If your scanner can scan multiple pages, for example, via a sheet feeder, you
can combine multiple pages into a single document. Batch - scans one or more pages into multiple documents.
For example, if you have two specialist letters for your patient and each
letter has three pages. Set the page indicator to 3 and
then click Scan. The first three pages (letter 1) will
be scanned into a document and then the last three pages (letter 2) will be
scanned into a second document.
Batch - scans one or more pages into multiple documents.
For example, if you have two specialist letters for your patient and each
letter has three pages. Set the page indicator to 3 and
then click Scan. The first three pages (letter 1) will
be scanned into a document and then the last three pages (letter 2) will be
scanned into a second document.
-
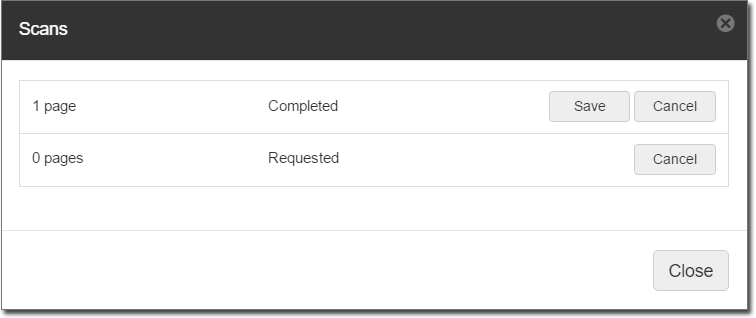
Click Scan. A progress window displays the current scanning
status. In the window, you can:
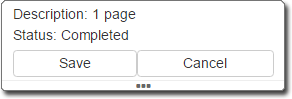
- Save - saves the scanned documents . You can continue scanning additional documents if required. Do not click Save until you have scanned all the documents for this session.
- Cancel - cancels the scanning process.
 Examine - examines the scan queue.
-
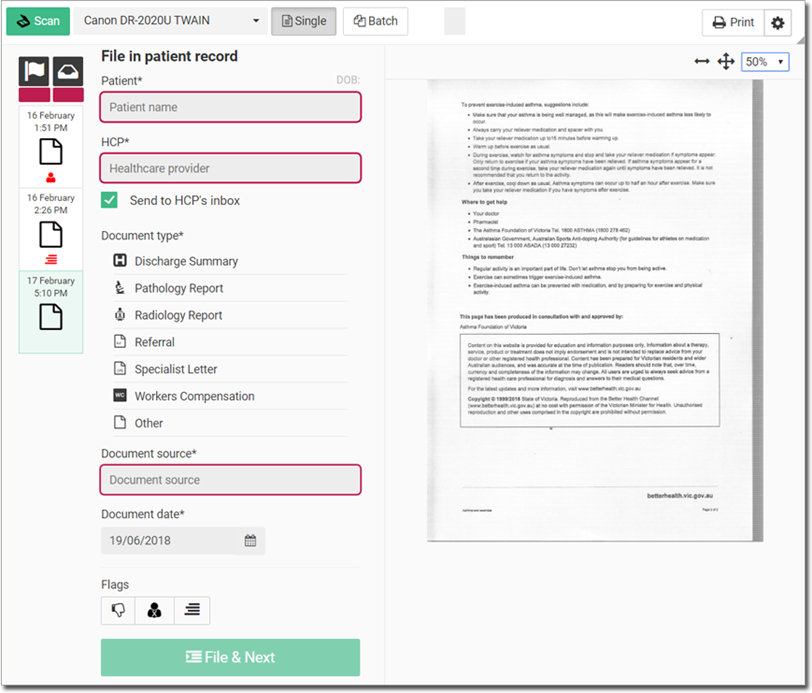
When the scan has completed, all the documents you scanned are added to a list on
the left side panel. In this example, we have scanned three documents.
Tip:If required, to delete any scanned file, select it and click Delete.
 - Select one document at
a time and add the following information:
- Patient - patient in whose record you want to file the documents
- HCP - assign to the patient's practitioner for review, such as follow up or recall.
- Assign to HCP - file a copy of the document in the
selected practitioner's Message Centre > Inbox.
- Document type - classify the document as a specific type,
so that the document can be easily found in a patient’s timeline using the
 History filter.
 - Document source - the name of the uploaded document.
- Document date - the date on which you received the document. The date on which it was uploaded is populated automatically. Update the date if required.
- Flags - flag the document if required. For more information about flags, see Documents Flags.
-
Click
 File & Next.
Results
A scanned document is assigned to a patient and it is added to the Patient Timeline.
Example
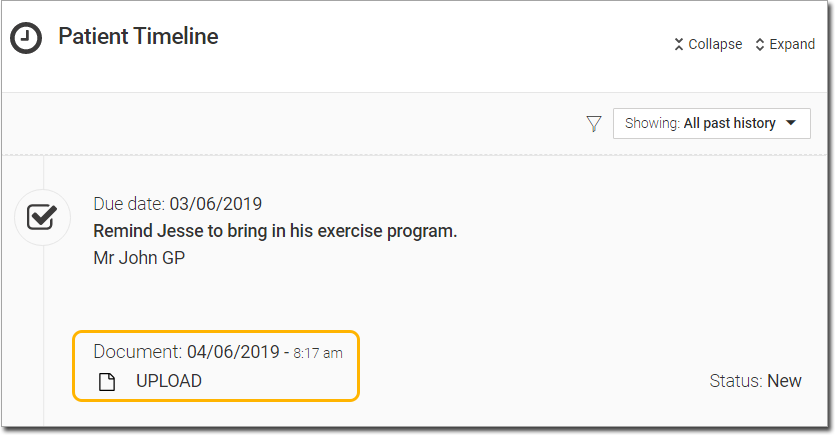
To view the scanned document, click it.
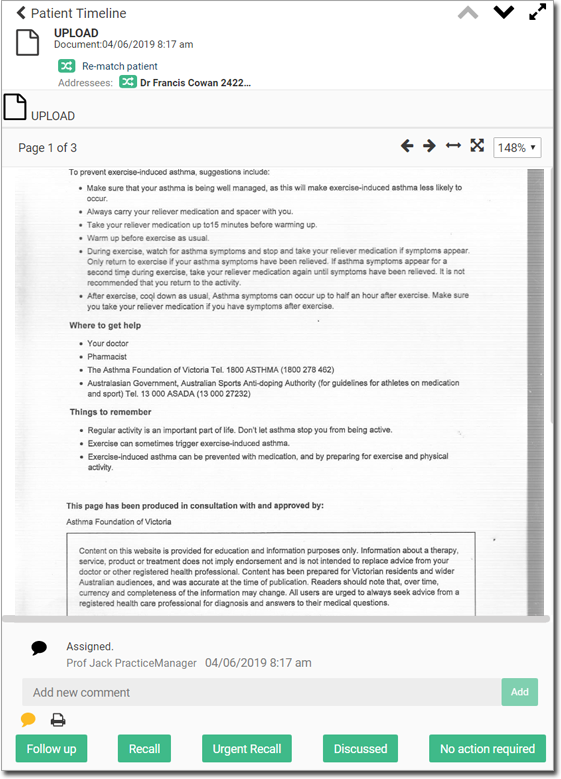
What to do next
 Print. For more information about printing, see Print a Document.