Create Imaging Requests
Create a radiology imaging request from the patient's record.
Procedure
To create a Radiology Imaging request:
-
From the
 Patient Search or
  Patient Queue, select a patient and click
  Consult.
-
In the Consult panel, click
 Imaging.
-
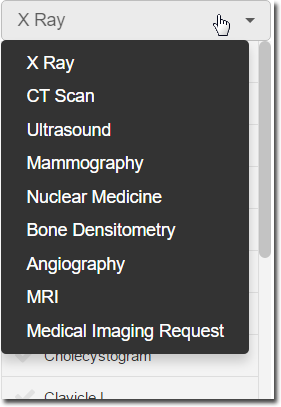
In the Diagnostic Imaging panel, select the required imaging
type from the list.
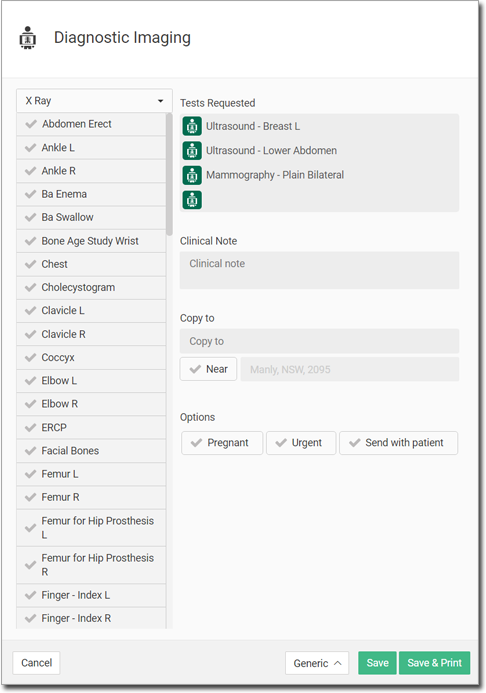
-
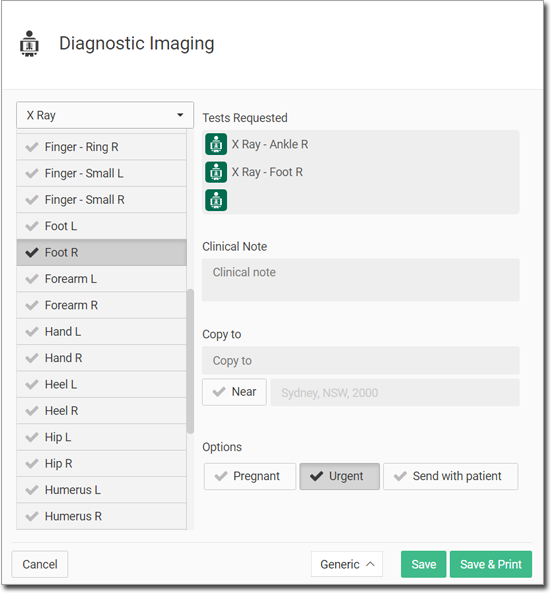
Select the required the tests from the list. The tests available will change depending
on which test type you select.
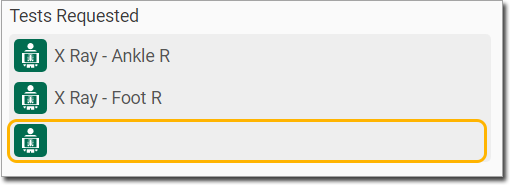
The selected tests are added to the Tests Requested section on the right side of the panel.- A maximum of 7 tests can be selected per request.
- To remove a test, hover your mouse over it, and click
 Delete.
 - In the blank field, enter a custom test if it is not available in the list.
- A maximum of 7 tests can be selected per request.
-
Once you have completed all the details, select any of the following options:
- Generic - select which paper to print the request on, to hand to your patient. The default is configured in Centre Settings. For more information, see Centre Settings.
- Save - save the request to the Actions section of the Consult panel. To print the
detail, click
 Print.
 - Save & Print - to save the request to the Actions section of the Consult panel, and print by default.
Results
The request is displayed in the Actions section of the Health Summary
 . For more information see, Health
Summary.
. For more information see, Health
Summary.

The print status is also displayed:
- If the Print is displayed, the request has not been printed.
- If the
 Reprint is displayed, the request has been already printed.
When the consult is exited, the saved and printed imaging request is added to the Patient Timeline. For information, see Timeline.
What to do next
From the Actions section, Practitioners can open an imaging request that has not already been printed, but cannot open printed requests.
- If new changes are made, and the request is saved again, the original imaging request is updated. No new entry is made in the Actions section.
- To print multiple items from Actions section that have not been printed, click Print All.
- To delete a request from Actions section, hover the mouse over the request and click .