Terminal Configuration
Configure the required terminal for the billing process or refunds.
Before you begin
Procedure
To configure the terminal:
-
Select
 user >
  Settings.
-
In the
 Settings window, select .
-
Under the Integrated Payments & Claiming tab, toggle the
Enable integrated payments for Helix option to
On.

-
To add a new terminal, click Add Terminal.
The Add new Terminal panel is displayed.
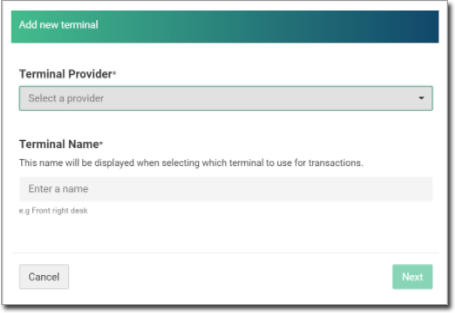
- In the Terminal Provider field, select the appropriate terminal provider from the list.
- In the Terminal Name field, enter the preferred terminal name, and then click Next.
-
To enable EasyClaim for Medicare refunds, toggle the Enable
EasyClaim option to On.
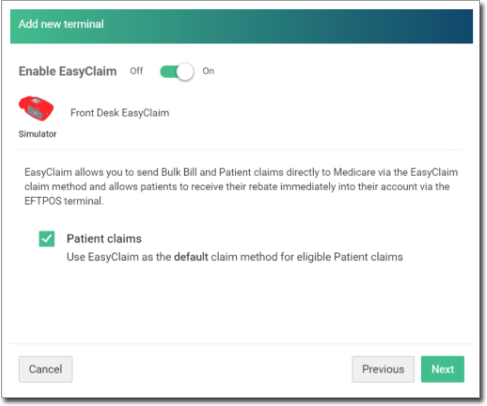
Note:- To use EasyClaim as the default claim, set Patient Claim.
- To return to the previous screen, click Previous.
-
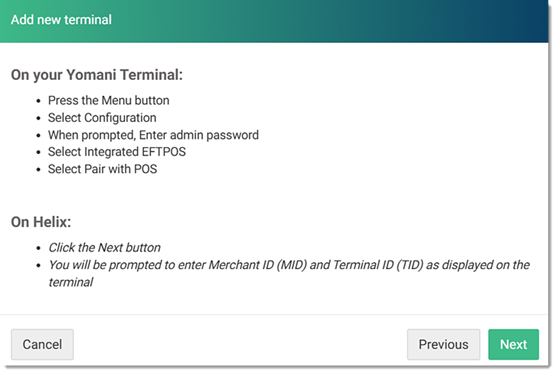
On the terminal, follow the instructions as displayed in Helix.